
How do I get more information about Macro Photography? Our guide can make things go more smoothly. Taking pictures of smaller things is a thrilling, absorbing field of photography.
The ability to shoot macro shots has become readily accessible to everybody with either digital telereflex or DSLR cameras.
In the process, you may explore the details of the environment around you (and come up with some amazing images). No equipment is required for beginning with a macro-camera or.
Types of macro photography
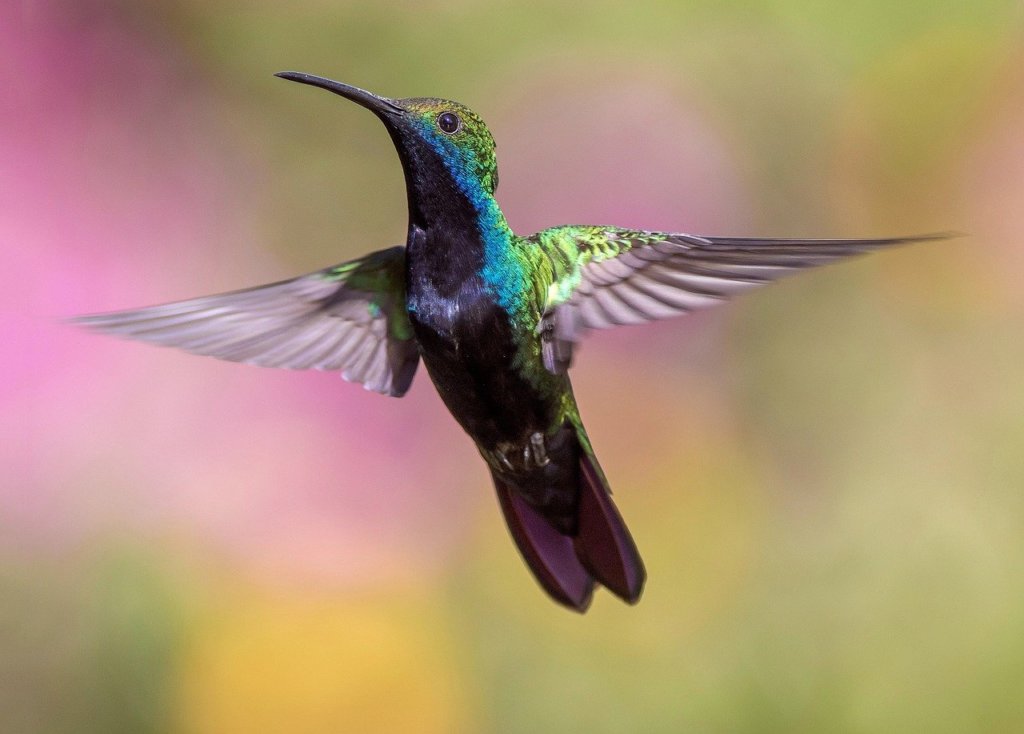
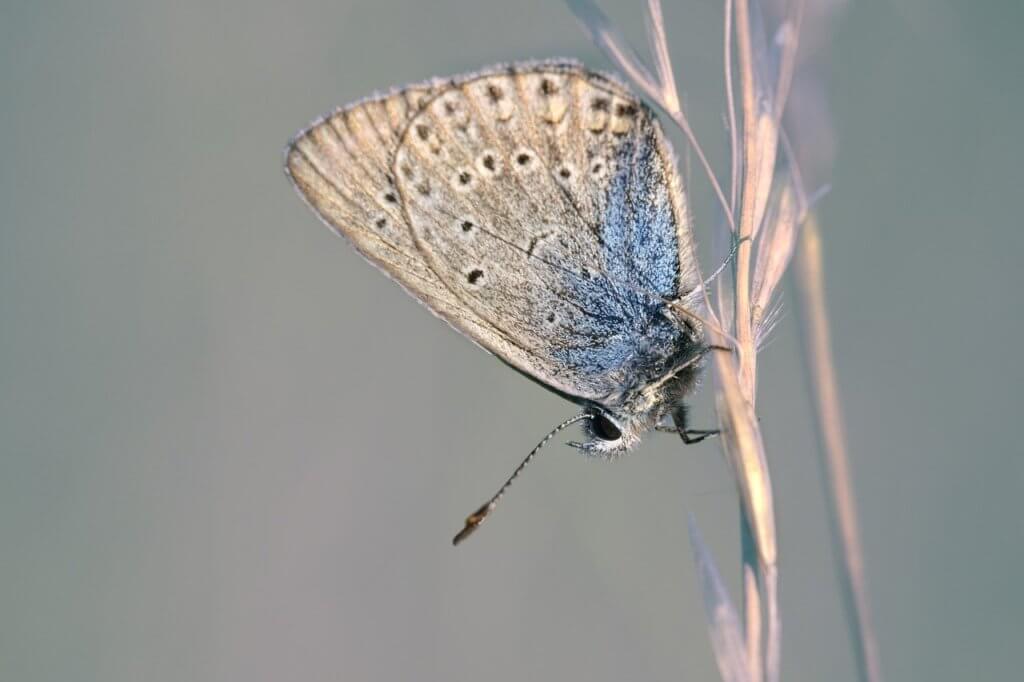
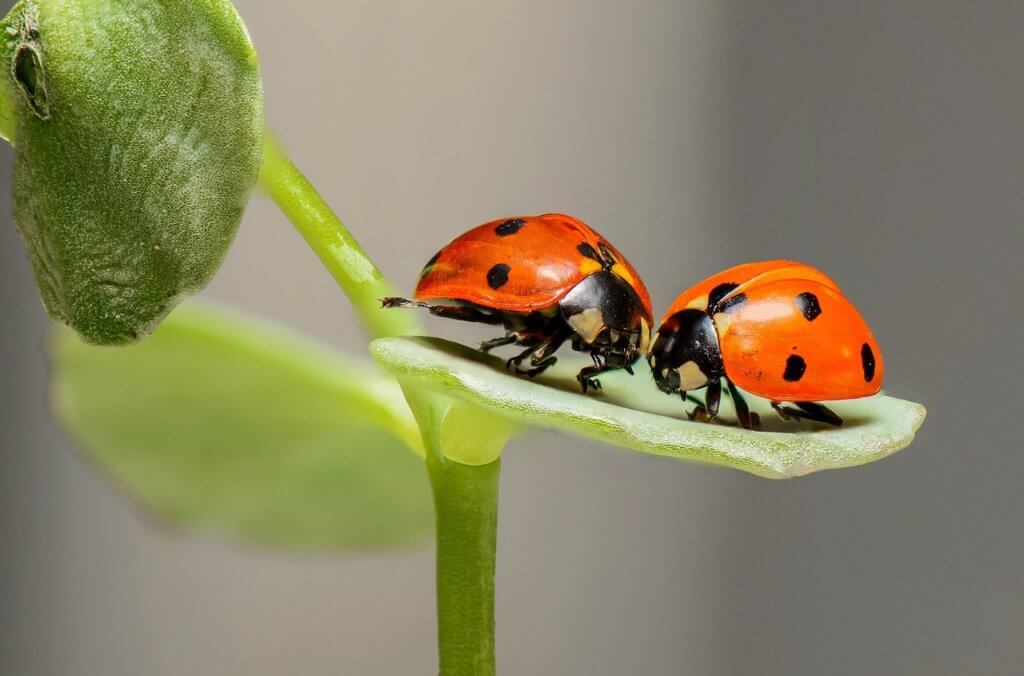
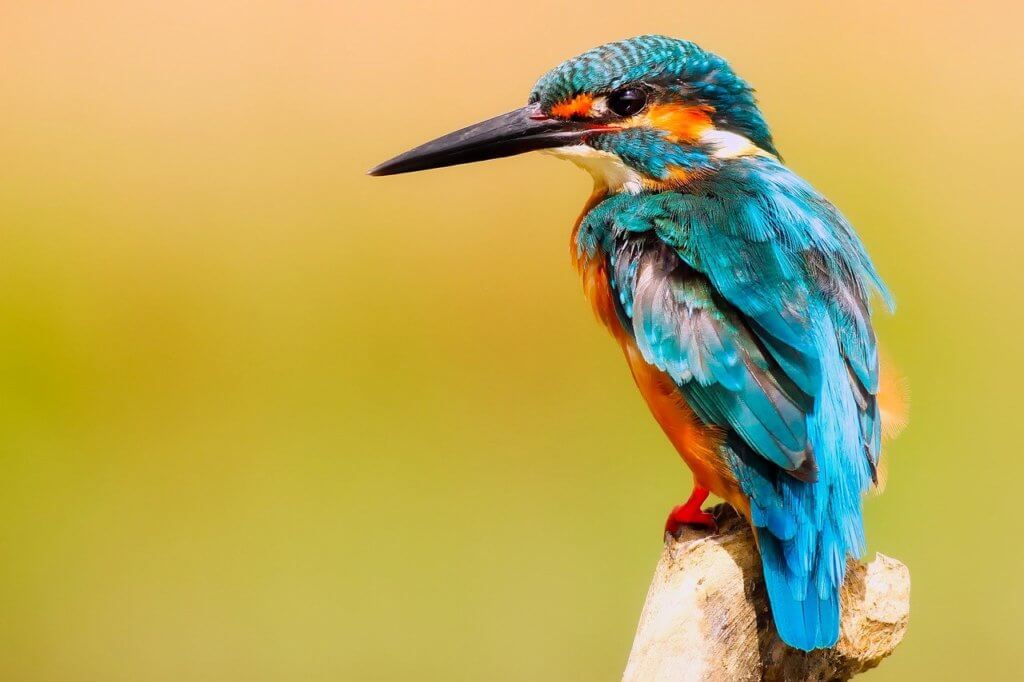
The fascinating world of insects is one of the more popular places to photograph in terms of macro photography.
Some pretty straightforward photography composition rules give you very good results.
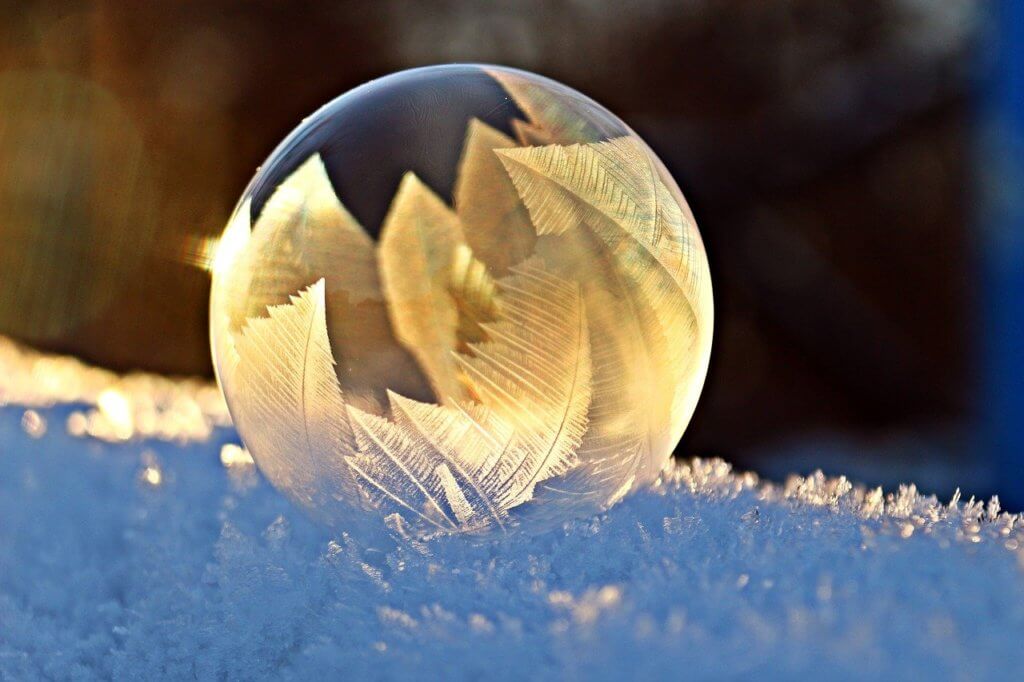
In abstract photography, the focus is on finding some interesting and creative. Show us a few ways to grow your artistic talent in snowflake photography.
Food photography displays the creations of the kitchen where the final scene is made to find a rhythm.
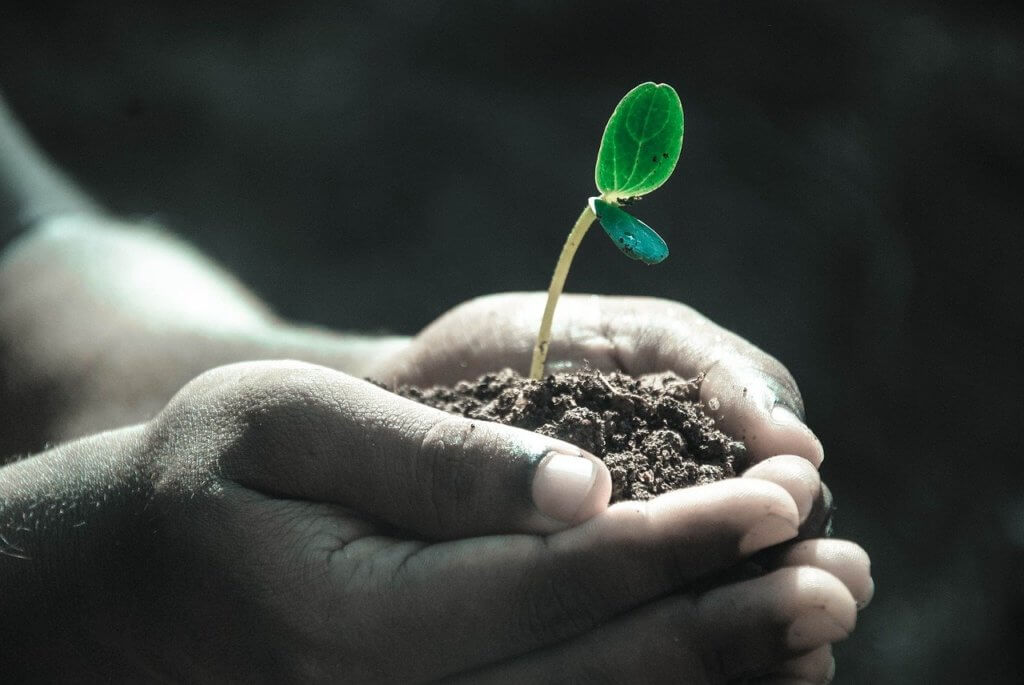
You can use macro photography to strengthen your creativity and emphasize the beauty of leaf leaves even simple leaf leaves and even simple leaf leaves to show the beauty of the natural beauty of this genre of photography to.
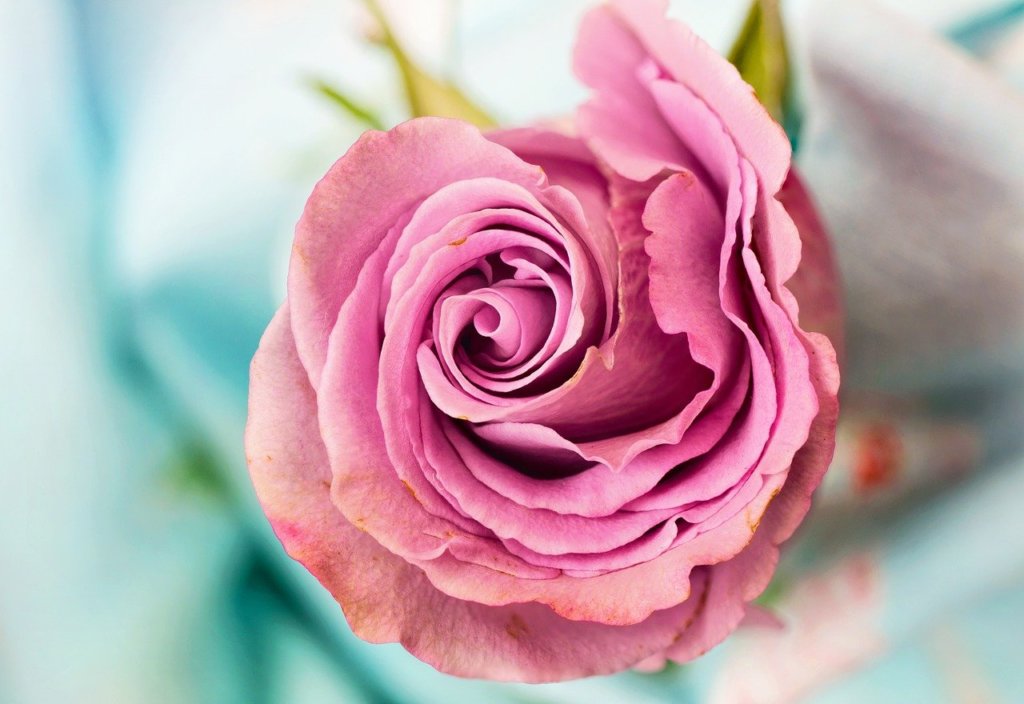
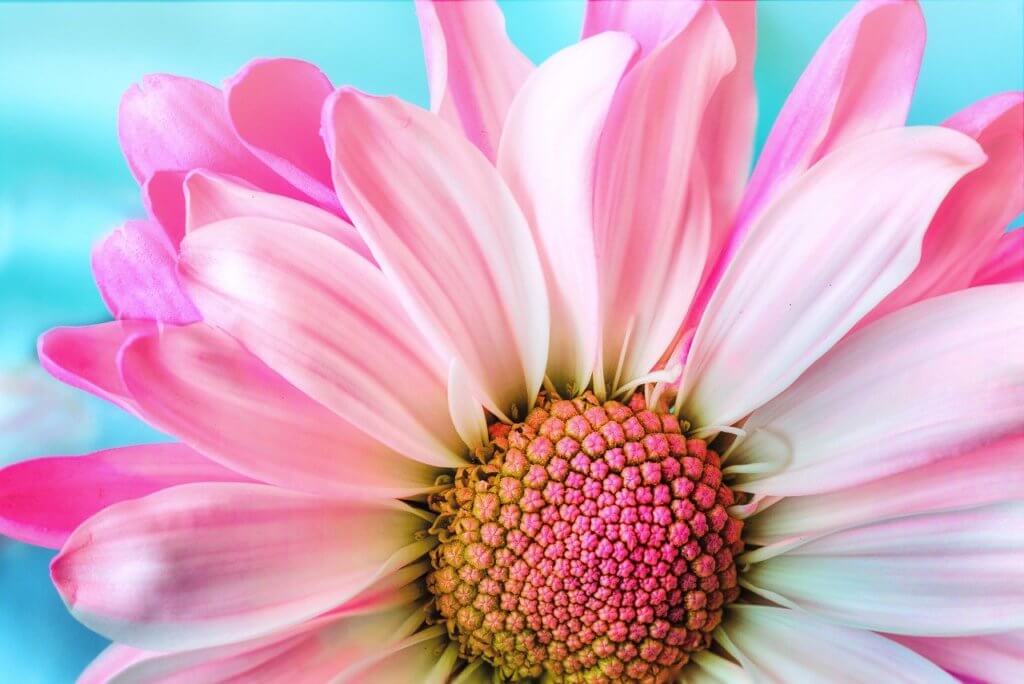
We’ve looked at flowers and mosquito macrography has come farther down.
Composition
It is the composition where a photograph is taken. The composition weight concept describes the visual element of an image. Diverse objects of various kinds have varying degrees of importance including color and shadow and number.
The diagonal line is a compositional value that adds depth of movement to an image. They can have a relation to the frame of the photo.
This detailed article helps you understand what uses these lines for better images.
Using two objects can create visual harmony and sometimes the most effective results can be achieved by focusing on one object at a time.
A diagonal line can subtly give detail over otherwise flat pictures.
Macro Photography Techniques
This extensive guide to the use of in-camera setting gives you the know-how. You can capture macro images using your iPhone camera.
The only difference between a macro lens and a normal telephoto lens is the short focusing distance. Focus Stacking is a major element in macro photography.
All you need do is let your imagination run wild and look into this world in an altogether new light. This article showed potential options there – particularly in search of small subjects, spots and small objects to shoot.
It will help you utilize this additional light for maximum results in macros. When taking an object so close, you need more color.

Micro or Macro?
True macro photos can only be shot via either a dedicated macro (for Canon products) / micro-lens lens (for Nikon products). Close-up photography is similar to macro photography in that it makes small objects appear larger.
It can be achieved by photographing objects at a very high distance with a standard non-macro lens.
A macro lens dramatically increases the degree of magnification and makes even the minuscule details visible. The main difference in images produced are the depth of fine detail can emitted with a macro lens that can achieve a minimum 1:1 magnification. A close-up photo makes small subjects bigger but a macro.
Micro vs Macro Photography
Both macro and micro photography aim to capture a subject close enough to appear large enough to be viewed.
Micro photography uses a 20:1 or higher magnification ratio that can make the picture 20 times more impressive than in reality. Micro photographers use a microscope to capture shots and images of macrobes – usually so little that it appears invisible.
For this reason, microphotography is less common and tends to become a specialized photographic field. Microphotography may in a similar vein use the available tools of the camera such as the settings and accessories of a tripod to bring their macro shots to life.
Camera equipment
DSLRs mirrorless and point-and-shoot cameras all can be used for macro photographic uses. Focusing rails offer a better position control than the camera focus.
Using macro bellows is an old-fashioned, efficient way to get amazing macro images. This article runs through top optics that capture this tiny world.
The lens is an integral part of micro photography. This article will help you find the perfect one for your needs and get the most from it.
Extension tubes and adapters are useful to give you the best of all the best tools available. Tweezers, brush and focal rails are recommended to consider.
How do I take a great macro photo?
Outdoor macro photography is famous for being fun and rewarding, as most of the surroundings are possible subjects.
The closer you approach my subject the deeper the depth of field may make it very difficult to find the entire image within the eye.
The only real solution is to use several macro pictures, get to grips with the capabilities of your camera and find the best combination of aperture depth field and ISO.
Try arranging your subject on an easy-to-move surface such as elevated surfaces, etc. Try using various backgrounds – you could be surprised at just how versatile your effects were.
Manage your shutter speed
The use of a tripod can help to prevent the shaking or blurry that can occur due to slow shutter speed. You’ll also need to pay attention to the background of your image for any motion like that of a breeze from the wind.
When you shoot insects or plants inside you may see a blur in the background of the scene that is from the wind blowing down plants as you capture the photograph.
Blot the wind on a screen or ask someone to hold all plants in the frame steady to avoid the situation. If an insect does not move to the other side you’ll have to wait until this is the end to get a clear shot.
Move your subject not the camera
Often in macro photography, the lens is placed close to the subject and stabilized on a tripod. Instead of moving or squaring the image, move it instead to ensure more efficient shooting.
Take care that the surface on your Object will be clean during the transport. Even small strands can appear in a macro photo.
Try to get a variety of different angles of the object by moving it slightly from side to side. Do it with another focus.
Most beginners’ macro pictures will start shooting parallel to their subject and move about once they become more confident. Just take it.
Macro Lens Photography for Beginners
While most cameras are able to take macro shots, sometimes you just use a special lens to capture professional macro photos. You’ll need to learn the basics of lighting a macro.
Depth play an especially important role in macro photography. All this will seem too complicated to macro photographers but it’s not.
It’s quite specialized in photography which is fun and offers many new opportunities. Unless you are properly educated in-camera function you risk bad photos and disappointing results. So you should have insect pictures in your pictures.
Keep an eye on your shutter speed
Touching the lens is sometimes not necessary when taking macro photos. For this photo you need a tripod to support the camera.
The slower shutter speed indicates you also have to pay attention to other sources or movements. Insects and other creatures inherently have own thoughts and actions. If he’s crawling the critters may not be clearly visible in focus.
Wing shadows may be obscured by the air. If there are gusts you probably should hire an assistant for your work.
Or you could make an air block based on a windfall. All this can be put to the best of artistic effect, of course, but chances are that it will require patience in that area.
Nail the depth of field
Wide apertures produce shallow depth of field making much of an image blurry.
Because of this fact, f-stops used between the apertures f/8 and f-16 are frequently used for capturing macro views.
Letting the shutter open again longer produces a beautiful image but handholding is not an option – and you’ll need to use a tripod. If you’re restricted to shooting at f7 or higher, you will have to make modifications to the speed of the shutter.
Professional photographers have to lower iso setting to preserve picture quality and reduce sensor noise. So shutter speeds have to be down drastically so light can pass through.
Light the scene
The only real restriction with the lighting camera macro is avoiding on-camera flash. Especially at low focal lengths the shadows from the camera or lens are not always obvious.
Sometimes a telephoto lens will produce too bad light.
For these errors, you can disable the flash by using any device from another screen. So it may be simply to maintain a very elegant look as well as control shadow intensity levels and placement.
The only restriction with macros is that they can’t be taken with natural light but they can be used to create a macro image with low-quality lighting.
Experiment with lens modifications
Extension tubes let you alter what focal lengths of lens you already have.
You can also reverse the lenses. With so many combinations available, the sky’s the limit! When you photograph the subject you will produce a unique look and feel.
If you want to experiment it is easy to find two-year old lenses.
You can also combine two lenses together that make a photograph seem very close.
All these are fun to experiment with but they all require special tubes and adapters to make it easier to experiment. It’s possible though there are so many options for anything one can do.
Get the right camera
To get the best macro lens, you must buy a camera that uses it. Camera systems with interchangeable lenses are most popular in macro photography.
A cropped sensor, such as one of the three cameras in an APS-C or mini, will provide better focal lengths for your money. Start from scratch by buying lenses.
It might look a little backward but ultimately, you’re likely happier with your choice. With your existing cameras, there are probably many macro settings.
There are also many options for macro photos in mirrorless and DSLR and mirrorless system as well as DSLR systems.
Choose the right platform to showcase your portfolio
Pixpa is a website builder platform used across industries worldwide that is trusted by creators and clients.
Pixpa offers one of the most simple yet powerful sites builders available online with the support of both Web Gallery Client and eCommerce sites.
Explore all features which makes Pixpa the best choice for creative professionals such as photographers designers or graphic developers.
Please look at several amazing examples of Portfolio websites in Pixpa website examples.
Show some great information about how to showcase the work in your portfolio website.
Get the right lens
The focal length of your lens depends on your macro image needs.
The sweet spot in the 100-130-mm range is a nice equilibrium between keeping close enough and giving the most clear view.
Macro lens photography is typically carried out using a sharp manual focus. Many photographers have adopted new lenses and adapter tubes.
You can find some excellent lens deals from top manufacturers like Canon and Nikon.
Consider picking an older complete Manual lens from an old vintage lens or an adapter tube from an Leica lens.
Use a good tripod
In photography, a tripod is the best friend. The more beef it gets the better things can go.
A tripod is used to provide an effective, stable ground for mounting a camera with remote control.
Typically lightweight travel tripod is designed to be easy to carry and to take in small amounts.
They don’t stand long when they’re holding a large DSLR and the camera.
On top of this is the quality and usability of the parts of a tripod.
Is the head easily attached/attachable? How easy do you extend your leg? Is the leg locked? Picking what’s right for you is mindboggling.
Consider using the Focus Bracket
Focus bracketing can allow you to shoot multiple pictures at different focal lengths. If your Depth of Field is limiting you can use focus bracketing to modify it later in Post Production.
Cameras often have an assist focus function which enhances manual focus. It is also a useful tool that tries to improve any errors that didn’t show up in the very first time around, such as focusing on a macro shot or using extreme magnification to preview the.
Subscribe below to download the article immediately
Macro photography is all about the making small objects appear bigger than life. From insects to plants anything is possible in your photograph.
Let’s learn everything a photographer should know about macro photography. Do you require additional information? See how this goes. Use these photos to help you understand your subjects and discover more about the subject subjectivity in our new book : Macros – Photography – Art of Microscope.
Go back to the basics like manual focus
The focusing focus is a crucial part of the overall composition of a photographer’s macrophotography. Think how you position the camera for an optimal balanced image.
Plan your view. Concentrate and frame the image in advance. For a perfect balancing effect look at the positions of the camera and lens at the camera.
Take advantage of the manual settings in your camera, particularly the manual focus to produce the best macro images.
Abstract Macros
One of the best reasons to take macro photographs is sharing a unique view of the world around us. Textures patterns and related abstract elements sometimes are considered beautiful compositions themselves. Try taking these images at a time that may amaze some folks the result. You may notice something you haven’t previously seen before, such as.
Here are just a few thoughts.
Once you understand macro photography you will be open to the opportunities. You can go out and spend thousands on the best lenses but as with most other kinds of photos, there are inexpensive ways to experiment and play. You probably won’t want to zoom in much later. Probably never go back again.
Don’t forget to compose the photograph
We discussed how you create your point of focus to create composition for images. List some useful composition tricks for editing photographs? What composition method does that help improve image quality?
Use manual focus
If You use a DSLR you can take amazing macro shots with manual focus. If you use a Point and Shoot camera manual focus will not be available. Your camera’s automatic AF will be very slow if the shutter is closed to quickly follow movement of the sensor or if someone is seated. Try focusing directly on the subject of the photo as opposed to relying on the automatic focus settings. If you want to use manual focus for macro shots, this will aid you obtain the best pictures possible with a point and shoot camera with manual focus option ‘.
What is macro photography?
A true macro shot depends on the magnification. The ideal magnification is 1:1 in which a 1-inch object is also projected by 1-inch over the camera sensor. To achieve true macro photography a wide variety of micro lenses are available in select digital cameras. In the real world macro photography is still impossible without the help of proper photography. We provide you with the top ten tips for taking quality photo for macro. For more information, click [link] photography and other tips for getting a good macro photo.
Choose a suitable subject
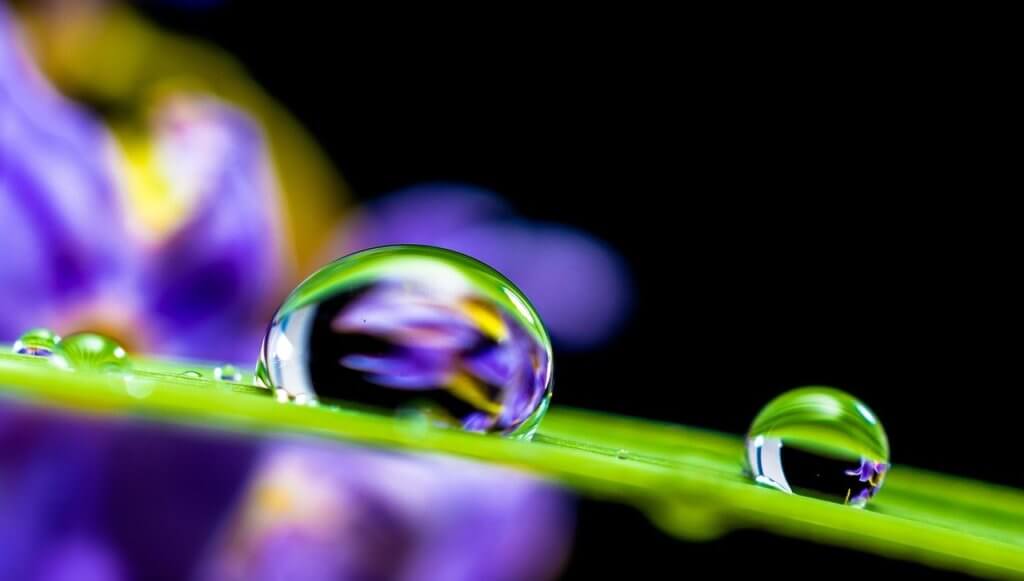
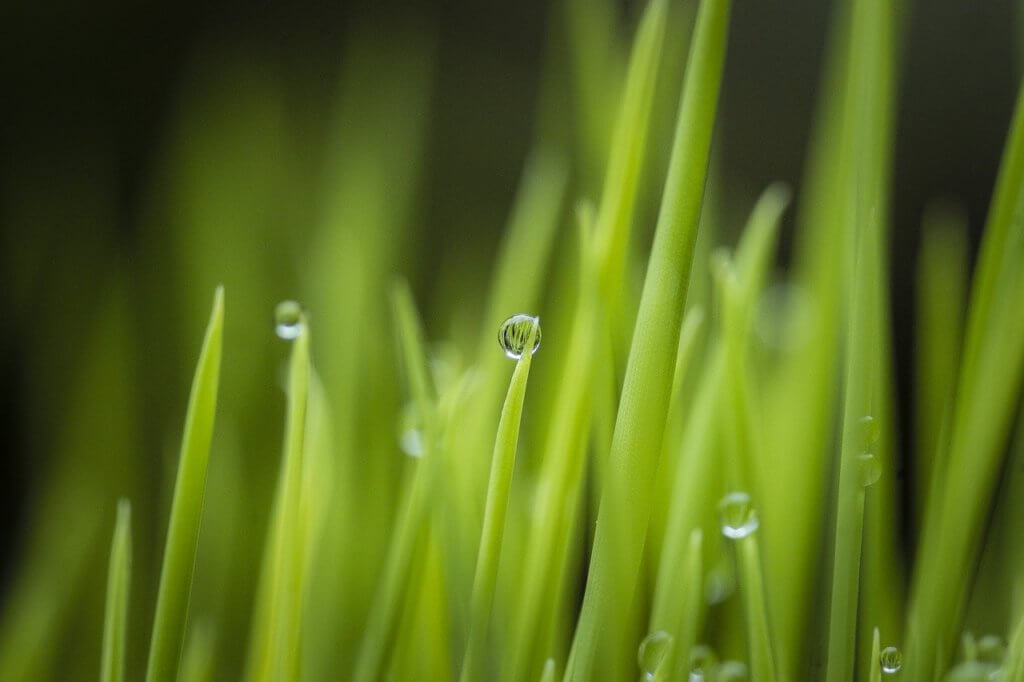
Some people are indistinguishable when viewed close or with limited context. Common subjects include small bugs, butterflies, water drops, and small objects like miniature dolls, jewelry and household items. Inanimate objects are fairly easy to photograph as they don’t move but insects and bugs are much more frustrating.
One of the keys tips I use for photography bugs was to be photographed at a safe distance to avoid scaring them away. If you photographed a subject which seems confusing and aesthetically pleasing to the eye then it must clearly qualify as an ideal subject. If you want to shoot with macros theres a problem of preference or aesthetics.
Customize your background
Many photographers choose to stay simple by positioning the subject in front of contrasting colors which are much more distance from the subject. If you are shooting outside you probably don’t have control of your background. You can change your view or maybe use the “third hand” support to position the object from different angles to make sure they don’t interact. Photographer often find it easiest to keep things simple by placing the subject at odds with the background so it can become a lovely blur. If you want to keep simple images simple you can use this third hand.
Improve your camera composition
One of the most important aspects of photography would be the ability learn composition on cameras. This means properly filming your subject for filming rather than doing post-production. This is particularly crucial with macro photography as cropping your photos reduces the overall resolution of the picture. Instead of cropping an insect photo to make it bigger increase the subjects magnification during the shoot to make you keep the original resolution. The best way to get a macro shot is to increase the magnifications of your subject to maintain original.
Get a good macro lens
The modern cameras offer a macro mode in the menu or analog settings but these don’t offer as much as 1:1 magnification. If you have photos in a magazine or gallery-quality macro format then you need to choose an appropriate macro lens. There’s a broad selection of micro lenses in the market offering at least 1 magnification. You may be disappointed by its prices but it’s definitely worth it for better macro shots. Bonus tips: If you plan on shooting flat objects such as coins or stamps, take a “flat-field” macro lens to ensure edge-to-edge sharpness.
Incorporate assistive accessories
Even with no dedicated macro lens you can get good macro pictures with assistive accessories in your macro kit. There’s a kind of diopter also known as the poor man’s macro lens. It’s basically a close-up filter or magnifying glass which is screwed up to your eye. Bellows or tubes are the instrument-based, telescoping camera part where the sensor is placed in an aperture to provide ultra-sensitive views of an object. You can also find optical adapters in which you are able to reposition and manually adjust the aperture.
Pay attention to your depth of field
Most people advise using smaller apertures (larger f-stop numbers) as it helps increase depth of field. The problem with using less aperture is that it can drastically affect the overall contrast of your images. On the other side, using an aperture too large would cause less depth field, which can cause others areas of the picture to be blurred too. Another recommended solution for focus stacking is built in many camera models. You can also reduce a image size to add a greater amount of detail.
Diffuse your light
The use of on-camera flashes can effect the shadow of the image. Diffusing the flash creates softer light in the picture and fills that frame with enough light to capture the object clearly. You can solve this problem by dropping your flash from a whiteboard or other diffusion surface to create soft light in your image. Click this link for more information what makes a better macro shot possible.
Extension tubes
Extension Tube is a hollow cylindrical spacer placed between the lens mounting surface and the camera mount to increase the lens’ size. In these glasses there is no optics. They are primarily used to decrease your lens maximum focus distance. Higher cost, simpler extensions work as spacers without any electrical connection between your lens and your cameras. Most expensive options also use electrical wires which protect communication between your camera and lens. Prices range between $20 and $100 depending on brand and type of tubes. The Extension Tubes actually lead to a light loss on your photographs but you can manually adjust exposure settings using Auto Focus to compensate for this problem.
A digital or mirrorless camera
Point and shoot cameras can be used for macro photography especially when you don’t have a budget. A DSLR camera allows you to capture various macro shots and to trial new lenses. With a full-frame camera or a cropped camera, fewer focal lengths will let you keep the subject at eye level. A mirrorless camera has a focus peak function which shows you which parts of the object are in focus. If you buy a mirrorless camera make sure it has a built-in automatic viewfinder that helps keep the camera steady and ensures clear detailed macro images. For professional macro photographs having a specific lens would be ideal.