This guide to camera settings helps you take the first steps out of taking photos in Auto mode. You don’t have to enter manual mode to get started with your pictures.
Learn to use the different auto and semi-auto capabilities of the camera and you may see a big difference.
You’ll also find a variety of shooting modes to bring your learning into action to ease your way out of auto mode. I show you the three ways a video meter is capable of measuring light.
I’ll also cover some different autos for your camera so you can get sharp images every time. When you understand the capabilities that a camera can provide, you’ll be in a great position to decide which camera to buy.

Show the 3 basic camera settings?
Camera aperture speed and ISO all work together because you need to find the balance between them. Changing the shutter speed will compensate for the shutter speed adjustment. This triangle can be called an exposure triangle.
The exposure triangle is one of the many important photographic subjects one should learn. So let’s try each of the three pieces to help you understand what I meant.
You must get sufficient lights at your fingertips and the correct time is the best way to get the best photography.
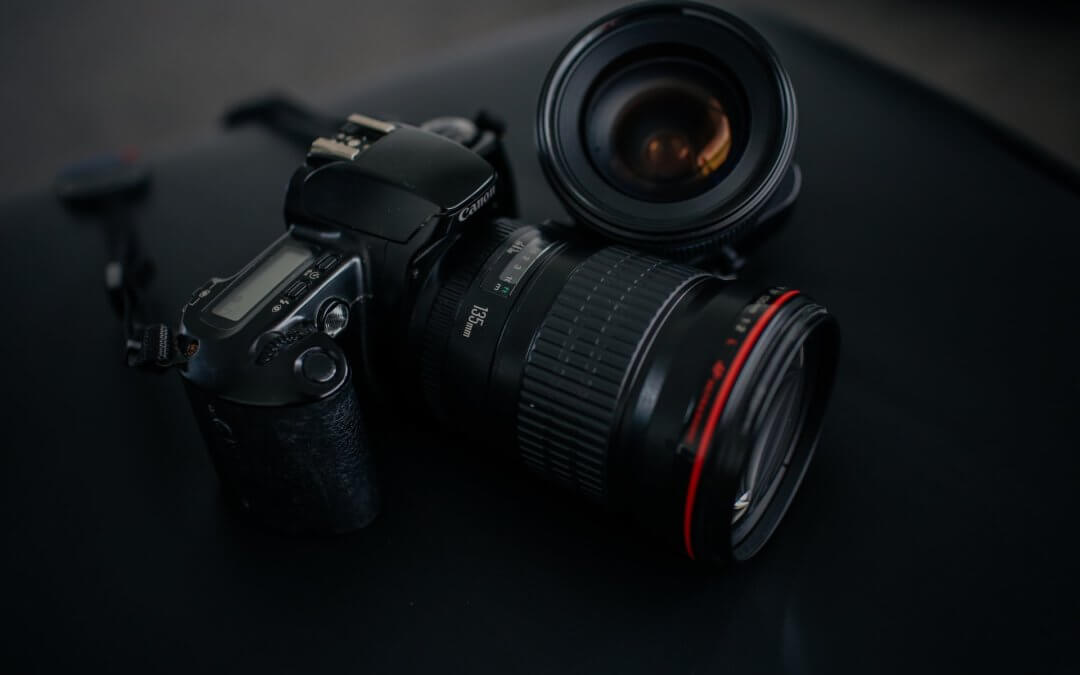
Here we have three basic camera settings: the shutter speed as well as the camera aperture and the ISO for the lens.
ISO
ISO determines how sensitive a camera’s sensors are. Most cameras have a minimum ISO between 200 and 100. When using high ISO the sensor is very sensitive to light but it will have a greyed-out effect dubbed digital noise.
In general Full Frame cameras deliver images with reduced noise and less distortion than cameras fitted with cropped sensors.
You can either set the ISO of the shot through the auto ISO feature of the device. On top of the ISO, you determine the minimum shutter rate.
This is a Secondary setting – so the camera will overwrite the maximum speed if there isn’t enough light to determine the maximum ISO setting.
Aperture
The first one controls the shutter speed which causes a certain exposure. The aperture refers to the size of the hole that accepts the light and the diaphragm controls it. When you use aperture settings you can actually change the depth of field.
A large aperture such as f/4 or 2.8 leads to a shallow focus (with a corresponding fast shutter speed) creating a selective image.
This is predominantly used in landscape photography or product photography when everything needs sharp. The aperture can adjust for specific focal effects.
Using other camera settings compensates for the aperture sensitivity. Other factors affect exposure resulting in dark or brighter images. Read the section on aperture priority modes to see how the camera can help you.
Shutter speed
Aperture controls how light goes into your camera and shutter speed determines how long it takes. Most cameras offer a shutter speed between 30 seconds and 1/4000 in a second.
If an image is photographed at the aperture more or less 20 seconds you are working on long exposure images. A slow shutter speed captures your own motion in a camera.
Consequently, with a long shutter speed, you will have a blurred photo due to camera shake which isn’t very desirable.
A camera’s minimum shutter speed is usually very fast, the EOS 1D has a 1/16,000th second speed. At such a fast shutter speed setting, camera shake becomes much less of a consideration. With such a fast minimum shutter speed, consider how many frames a second could be captured in burst mode – getting data from the sensor, processed, and transferred to storage, become the limiting factors.
You’ll want to read the section on shutter priority mode to learn how to have the camera help you whilst you are setting the shutter speed.
A slower shutter speed
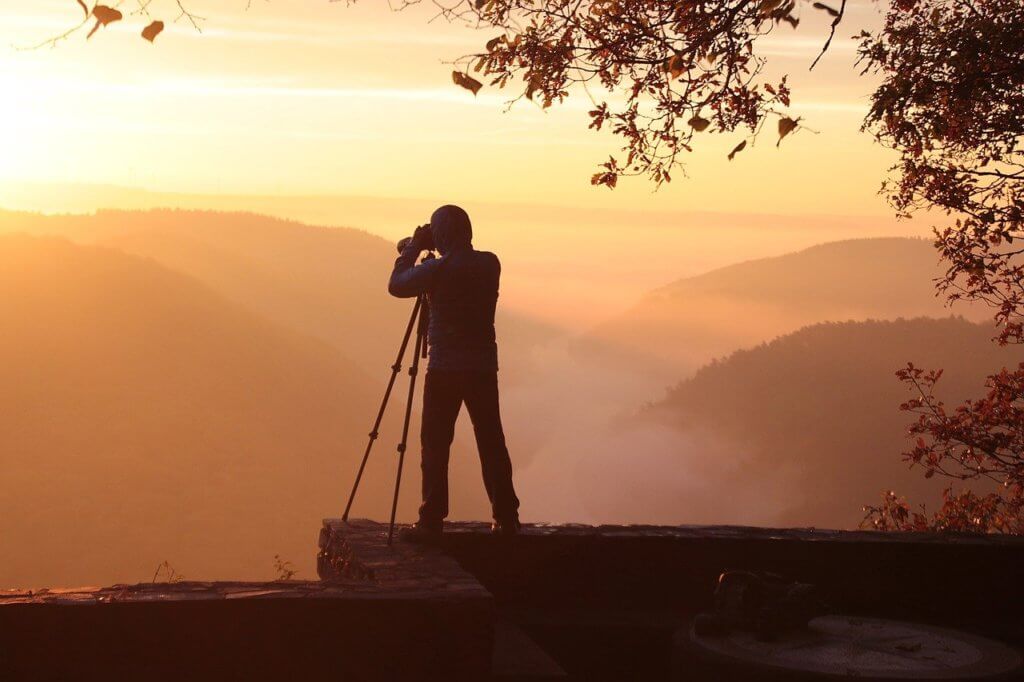
The slowest shutter speed a camera can use without camera shake is related to its focal length. Telephoto lenses need fast shutter speeds. It is always a good idea to use a tripod to take photos. 50mm lenses and bright light allow shutter speeds of 1/60th sec or faster.
Camera settings & exposure
There is no objective variable that tells you whether the lighting is “right”.
The most basic characteristic a person can influence is whether the photograph is bright or dark.
The more light enters the picture the better. Lightroom gives You a range of exposures in -5 to +5, but when highlights are clipping you will not be able to adjust your exposures.
For a more simple explanation of Exposure, there is the exposure triangle concept.
Following you can see a summary showing three influence factors that You. You may change the camera settings. A triangulated angle is shown below.
Metering modes
All cameras have an exposure meter that sees reflected light even if you never noticed it. When you use this mode the camera measures incoming light to determine the best setting.
If you use the camera in manual mode you can see the meters.
This is a scale that goes from -2 to +2. The zero represented within is of right exposure. It is an exact way of metering because it takes information from one location which goes from 3% to 7% of each frame.
A number of higher-end cameras allow you to choose where you leave a place in the center or align it with a focus point.
Center-Weighted Metering
You can also find this metering mode under the name average. So, it takes most of the whole picture in and calculates the mean intensity of light.
The calculation doesn’t take into account the corner; hence is called center-weighting. Of course, the area considered central is wider than it is for spot metering.
Camera shooting modes
Digital cameras are different shooting modes designed for different skills and levels. They range from Full Automatic to Manual with plenty of options available between them.
Some of these modes are displayed in words and others in icons. In our guide to camera settings, our most common settings were discussed.
The default settings are available on the camera’s control dial. You also have the option to use these settings to capture a well-exposed photo.
![]() Scene modes (Icons)
Scene modes (Icons)
Some camera options work best for different photographic styles.
By setting the scene modes the camera chooses its exposure settings. The camera in some situations is ‘tricked‘ by difficult scenes.
That causes the picture to be too bright or dark. Fortunately, most digital cameras can offer you the ability to disable your default settings for high performance.
This happens when you use the semi-automatic mode. If a camera has a button on it press and hold this button while the setting dial is active.
If your photo is too dark you’ll create an EV code. This means your photo is overexposed once. If you see an image that is too bright use an EV.
Full Automatic Mode (A)
In Auto Mode, there’s no way to alter the exposure settings such as aperture shutter speed, or ISO.
Features such as meter mode and white balance are also disabled.
As described in the first part of the article every setting has a much larger effect than the intensity of light.
Assumed you could not control his or her final images because your control wouldn’t change in their favor.
Most times you’ll see an accurately lit photograph if you set the camera mode up for a certain interval during shooting.
However, it remains not highly advisable to use auto mode for most photos.
Program (P)
Program mode is a semi-automatic program that gives preference for the aperture.
This is useful when there are controllable depths or a bokeh background of some sort.
This feature lets you change other camera parameters such as shutter speed, focus, and metering at program mode if you wish.
It helps to reduce noisy images due to a super high ISO or blurry images. It’s useful for pairing aperture priorities with an ISO – the camera automatically takes care of the rest of the image.
It may also be used in case you have a moving subject or want to have everything in focus or to create a photo with a moving object.
Full manual mode (M)
Manual use requires higher knowledge. You can start with one of those semi-automatic modes. You don’t need to put anything in this mode as it takes knowledge and skillfully controlling the camera’s manual settings.
In fully manual mode, you may wish to use a handheld meter to measure the light and to ensure you get optimal settings for aperture and shutter speed at a given ISO. You will have complete control over the image quality and won’t be leaving it to the vagueries of the camera’s electronics.
Autofocus modes
Most cameras have the shutter button halfway off to hear a beep.
Depending on how much you look through the camera, the focus point and a number of other points appear at the top. You can tell your camera how to function: locks its focus for the subject to move on camera or reset focus.
The Autofocus mode controls this and can also be used to inform the camera of what it should act like. On a few cameras, it is also possible to select the settings manually or leave them in Auto mode.
AF-C / AI Servo
Continuous AF-C for Nikon or AI Servo is the ideal focus mode for moving subjects. It identifies a subject and keeps this in focus by shooting in burst mode.
I think this is the best focusing mode as it’s used for photographing wildlife and action pictures.
Keep the shutter pressed halfway or hold a focus button in the case a camera uses a focus function.
It carries lots of batteries so bring a backup plan if you plan a long day of shooting.
Automatic / AI Focus AF
Manual focus if you have Nikon cameras AI Focus AF if you shoot Canon.
Not all cameras have a similar feature for beginners. When you use these focusing modes the camera chooses Single AF if it detects a static subject or Continuous mode if it sees a moving subject.
Does that sound like the easiest solution? I hope so much but many of my decisions are taken with a mistake.
Generally speaking, it is better to decide on your own, but it’s often better to shoot with your own camera with a different focus mode instead of automatic AF mode.
AF-S / One-Shot
With a single point of attention, the camera locks to the focus at a spot where the focus is locked to.
For this to be done before you snap a snapshot, you can use a lever halfway down.
If the camera cannot focus there unless there’s no contrast or you’re close enough to the subject to capture a portrait.
On Nikon, it’s the single aperture AF, whereas Canon calls it single shutter AF. It’s also very easy.

Best camera settings in photography
These are some of most important basic camera settings for photography.
This section describes every angle explained in detail together with the camera angle depending of the camera genre and subject the photographer is focusing on.
Let’s begin with the basic lighting cameras settings and then go on to other important photo settings.
For a better understanding and knowledge of photographic photography camera settings, I strongly recommend reading the camera settings specific article you will find in each section of this article.
5 camera settings everyone should know
This video covers the basic camera settings that everyone needs.
The extra features and camera modes vary from camera to camera but we’ll explore the most common camera modes in digital cameras.
Knowledge of these settings and features is crucial for unlocking your camera’s fullest potential and abilities. Do you understand my camera better than I have?
Let’s start! See the video below to see how simple it can be to have the camera run in manual mode and aperture priority mode on your camera.
What is ISO?
ISO is often known as the camera’s sensitivity to light. The larger the ISO number the brighter your photos.
The smaller the number the smaller the image was on the screen. When you change the ISO of your camera to 4K or higher to make the image appear smoky or grainy if something doesn’t exist.
If a photograph has a lot of noise the area of the picture contains lots of specks and a grainier appearance.
Instead of obtaining a crisp and smooth image surface at ISO 100 you’ll get a noisy image at ISO 2200 but this photo is brighter.
This is why experienced photographers often adjust aperture speed before drastic repairs are required.
Manual mode
In Auto, you can have creative control over the camera. Even experienced photographers have started shooting in manual mode so that can use their creative power.
The general rule of thumb is if you have enough time to manually adjust the controls then shoot in manual. If not, it is recommended to stick with other ways like the aperture or shutter speed priority.
You can produce the creamy background bokeh easily by manually setting your aperture or creating impressive images of stars through short shutter times.
If you need time to do this, you should use manual mode to capture beautiful and controlled portraits.
What is an aperture?
Understanding aperture works will not only improve camera control but also give more artistic freedom to take a photograph.
Aperture is a powerful tool to manipulate light in a photo easily. You can brighten your pictures when you open out the aperture at a smaller f-stop but limit light in the sensor by increasing your f-stops.
Visit our article here and learn about the relationship between aperture and depth of field in our new article on the relationship between aperture and photo quality. We also show you how we have control over how the bokeh in images is determined by the aperture of its aperture lens.
In aperture priority mode, you set the aperture, and the camera figures out the shutter speed and/or the ISO setting. You have aperture priority and the camera helps with the other settings.
Auto mode
Most modern digital cameras perform well in auto mode.
It’s recommended that you use Auto Mode when the lighting is ideal so the camera automatically detects the perfect settings and exposure.
In some cases, the automatic mode gets the job done, producing high-quality pictures. It is especially useful to those who are in one hurry without having the time to set some settings.
Auto mode will prevent you from using the camera’s fullest ability, but you’ll want to utilize it if the light is balanced so that your exposure is best when you have.
What is a slow shutter speed?
The quicker the shutter’s velocity, the more denominators the number.
A slower shutter speed like 1/100 of a second allows more light to enter a camera’s sensor. If one is looking at waterfalls, using a slow shutter speed with 5-seconds will get a dream-like effect (tripod is required) on the other hand it will take a.
Keep in mind that using slow shutter speeds will most often require a tripod or image stabilizer that will not cause blurry or shaking pictures.
Some are capable of shooting 1/2000 of a. Another second that was extremely quick.
Focus modes
Exposure is only one aspect and is crucial to creating good pictures. This will explain the different focus modes. After explaining what you did you must try and figure which ones are better for you.
There is no clear favorite depending on what photography you intend to take different focus modes may be more appropriate.
Different focus modes are more effective for different photos therefore You can decide the best.
Cloudy Weather: f/5.6 | 1/200s | ISO 200
Street photography is a very simple discipline so that no more efforts must be done to find the correct camera settings. The right settings in street photography, You can focus on the composition and the content of the photograph to tell a story. For me I generally use a manual mode in combination with automatic mode. On a sunny day in Berlin I use the following camera parameters for photographic street photography: f/8, 1/500 sec, ISO 100. Here are good basic settings you can starting with and check how the pictures turn out. The ISO setting for a black and white photo could be higher as I consider the results the camera needs less.
Spot Focus
Modern camera has 150 lenses. You can either select a predefined focal point at a particular angle or move a focal point along your field of view. To focus on the spot you have to press the shutter button half an turn of the dial and wait until the focus is there and then press down. When it does this the camera must check to ensure it has a sharp subject at the right point. Modern cameras don’t have to move the camera too much but can use the predefined focus points instead of moving the camera around to the viewfinder or changing one of the focus points in the views view.
For light trails f/5.6 1/4s ISO 100
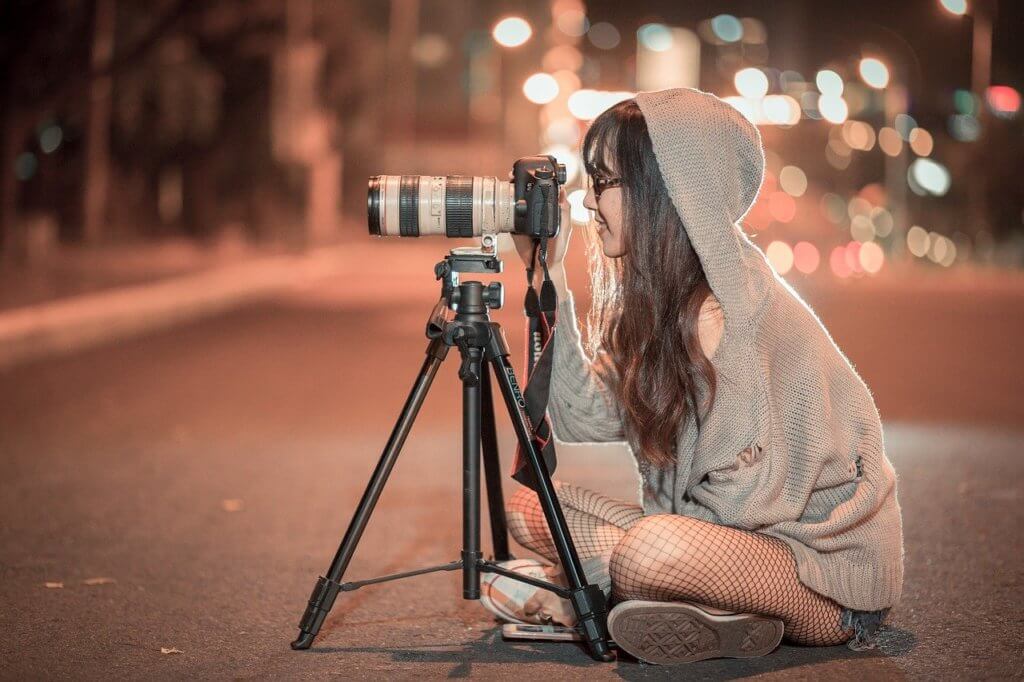
Street photography at night can be difficult but it’s one that’s truly worth it. At night I generally work in direct sunlight and the following setting is used to create a light trail at night. A basic condition on this style is there lights in background. To produce light trails you must use a quicker shutter speed. The slower shutter speed the larger the effect of the light trail. It remains within f/8 with an ISO in 100.6. If the foreground turns out to be too dark, I have to boost the flash strength or go closer to the subject.
Continuous vs. Single Focus
You also have the choice of setting the focus on a single focus or continuous focus. You can keep shooting in continuous focus even if half the button has been pressed. This can be advantageous if moving objects that change their distance to the camera very quickly and are in the danger of leaving the focus plane very quickly. A few others prefer the single focus mode, but it allows you to frame the picture at the exact position it’s supposed to be. The camera can also take pictures of objects that move very quickly.
Area Focus Modes
This mode has all the advantages and disadvantages of the full automatic focus mode and the single focus mode. You have more to focus on so the camera has to be able to figure out where it needs to focus. While it’s far better than fully automated mode it can be frustrating to deal with if the camera uses a wrong spot to focus on the subject. In this way you could easily add more points of focus. You don’t need to be very precise in hitting that target. No need to concentrate on anything.
Full automatic focus
You can just let the camera focus the whole thing. Generally, the camera must guess what it should focus on. However, it’s incredibly unreliable and greatly dependent on luck and the camera guesses. I wouldn’t recommend that focus mode. It is very frustrating to work with and I could lose your creativity in photography.
Camera modes – The main camera wheel
Find out how to change camera presets for exposure. Use the three basic camera options on the camera to discover how to use the camera’s camera modes.
Best camera mode settings
Software Shoot mode is a basic setup used by photographers and beginners. Aperture-Priority mode is helpful in quite a few situations. Manual is the ultimate mode and camera settings are more terrifying than novices. I’d recommend either manual shooting mode or aperture acceleration mode. My camera setting modes is manual 90% of the time like when photographing the Milky Way Northern Lights, long exposures, etc. If you are shooting dangerous subjects, you will probably start in another mode in this case.
Can you list the camera mode settings?
Camera settings are tools that allow you to set the primary photographic settings of aperture speed and ISO in order to have the best images in the photographs. The best basic setups for dslr versus mirrorless require a manually controlled camera view. Additionally it’s possible to use most of either automatic or preeminent mode. These are the main camera modes photo setting : aperture, shutter speed and ISO.
How do I change the camera mode?
Digital cameras are capable of switching camera settings with a button.
Metering modes – The fundamental camera setting to measure light.
The last adjustment concerning camera configuration and camera exposure is the metering mode.
What are metering mode settings?
Metering mode is how your camera uses the camera sensor information to decide the correct illumination of a scene. This is accomplished through an exposure meter on a digital camera.
As your photography is taking place under any manual setting your camera’s auto mode the metering mode changes the mode it is changing.
Aperture – The first basic camera setting
The aperture is among the most important images on film. It’s one simple camera setting for beginners.

Tell me the aperture of the camera?
Aperture is the opening of the lens that affects the amount of light passing through the lens to the sensor. It is essential for the depth of field, sharpness, and the final look of the image. Maximum or Minimum aperture is determined by a formula generally known as an F-stop value. The smaller the number, the larger the aperture and vice-versa, the bigger the aperture, the larger the lens size and vice-versa. Among the smallest number of F-stops is F -stop F – aperture A F1, F 2, F 3, F 4, F 5, and F6.

Best aperture camera settings
If you want a larger part of the scene focus (great extent of field) you should use a narrow aperture. The easiest way for determining this type of aperture is to photograph landscapes between f/8 and f/11. When using lowlight you should aim for the widest aperture. F/1.8 is the aperture in the aperture range from 1 – 4 mm. Examples are portraits and nighttime photography. If in reality you want a small amount. In focus while you blur some area. Shoot.
How do I change the aperture on my camera?
In most cameras, the aperture dials are located on the top right side of the camera frame. It can either be located on top or on the rear dial.